Concrete resurfacing and stenciling (Part One)

Concrete stenciling is an easy, economical way to achieve the highly desired look of paver stones or brick without the additional expense, tools, time or labor required.
In addition to boosting curb appeal for homeowners, concrete stenciling is also a long-lasting, attractive alternative to replacing an old concrete driveway, patio or walkway that has started to show signs of wear and tear or slight cracking. Plus, it provides a unique service offering that sets your business apart from the competition!
If you’re stenciling on concrete that has begun to show signs of age or cracking — but is still structurally sound — it is best to begin the process by resurfacing. Read on to learn how to return a concrete slab, patio or walkway to like-new condition using SAKRETE® Flo-Coat® Concrete Resurfacer.
Tip: A slab with multiple cracks running deep in the concrete, tree roots breaking through, or one that has deteriorated into a pile of stones and sand will need to be replaced, not resurfaced.
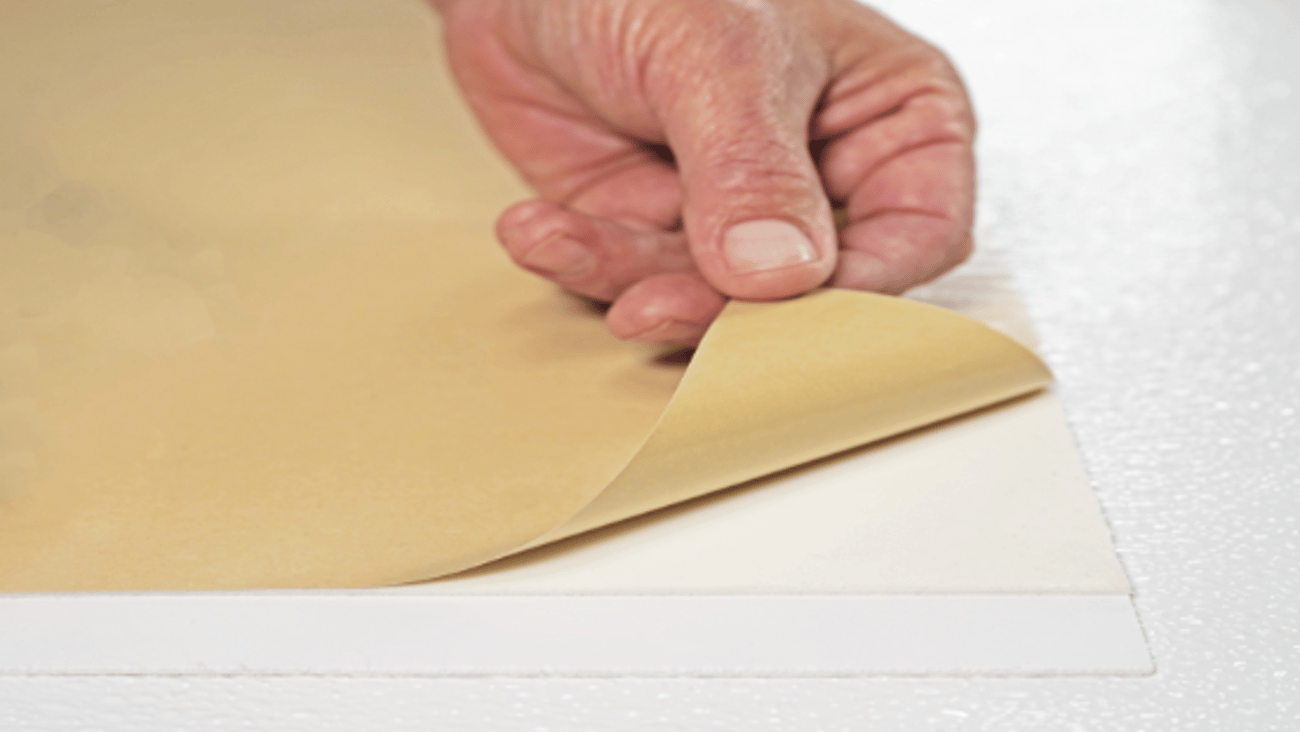
Materials Needed
• Sakrete Flo-Coat Concrete Resurfacer (for applications of ½" to a featheredge in thickness)
• SAKRETE Cement Color (optional)
• 5-gallon bucket
• Squeegee (lightweight)
• Variable-speed drill and paddle mixer attachment
Step One: Prepare the Surface
Before resurfacing, preparation is critical. The concrete must be sound, clean, hard and free of dust, dirt, grease, oil, paint, sealers, curing compounds and other foreign materials that would inhibit performance.
Pressure washing is recommended with a 2,500 psi (17.2 MPa) pressure washer and the appropriate tip, assuring the surface is properly cleaned.
Next, fill any cracks and pitted or deteriorated areas with Flo-Coat Resurfacer mixed to a trowelable consistency (8 parts powder to 1 part water by volume). Allow any repaired areas to set before resurfacing begins.
Step Two: Mix the Product
Sakrete Flo-Coat Concrete Resurfacer is a polymer-modified, sand and cement resurfacing material requiring only the addition of clean water. Begin the mixing process by adding the water required (outlined on the product package instructions) to your 5-gallon bucket.
Tip: If a certain joint color is desired between stenciled stones or brick, add the appropriate Sakrete Cement Color to your mix and follow the Sakrete Cement Color and the Flo-Coat mixing and application instructions. In the above photo, the joints are standard gray with no color added.
Pour in the Flo-Coat Resurfacer powder and Cement Color (if applicable), then mix with a high-torque, variable-speed drill using a paddle mixer attachment, running at low RPM to avoid splattering. Mix for approximately two minutes, adding the remainder of water as needed. Let the material sit for one minute, then finish mixing for another minute to a pourable consistency. The mix should be flowable and free of lumps.
[Watch a how-to video on properly applying Sakrete Flo-Coat Resurfacer>
Step Three: Apply the Resurfacer
Pour the mixed product in even proportions along the concrete surface. Using a squeegee, pull the material across the surface to spread it evenly. Tap the squeegee periodically to remove excess material.
Wipe the squeegee clean with an old towel to remove all material prior to finishing.
Step Four: Finish the Project
Once the product has been applied smoothly and evenly over the entire surface, use a broom to add texture. Drag the broom lightly across the surface in one direction with a straight, consistent pattern (horizontally or vertically).
Adding texture (broom finish) can help to prevent the concrete from being slick when finished. It will also aid in a good mechanical bond of the stenciling overlay. Plus, it can help to remove any squeegee lines or imperfections you may have created when applying the resurfacer product.
NOTE: For complete product information, please refer to the product data sheet.
Once you’ve properly resurfaced, check back in mid-August for Part Two on how to begin the stenciling process.